Before

After

Before

After
I took the two above images into Photoshop and using the Clone Stamp tool, and Masks I repaired the tears in the top image and the wrinkles in the bottom image. These were part of an assignment in my image editing class at MiraCosta College.

Before

After
To achieve this outcome I took the image into Photoshop and started by taking copies of the boards of the windows to create the entire window. I used the Clone Stamp tool and made copies of sections with the object Selection tool in order to fill in the window pain sections. I did the same with the carpet only making sure to copy the sections in a way to make the lines in the rug straight. The most difficult part of the image was the curves of the rug. I finished the image with the air brush tool to add some shadows.


In Photoshop I used rectangle shapes to cover the end table and and to rebuild the right leg of the couch. I used the Clone Stamp tool to repair the carpet edge under the end table and a black rectangle shape to create the black line.

Before

After

Before

After

Before

After
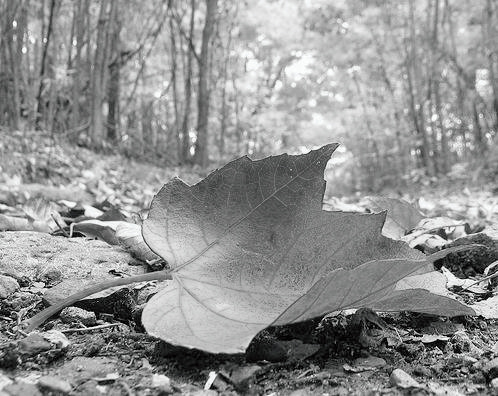
These color edits are created in photoshop using the Selection tool to placing the selection on a separate layer. Then I either added color to the selection, or removed the color from the background. In the case of the third image. I took the selection tool and selected the main leaf. I then added a Radial Blur to the Background.


